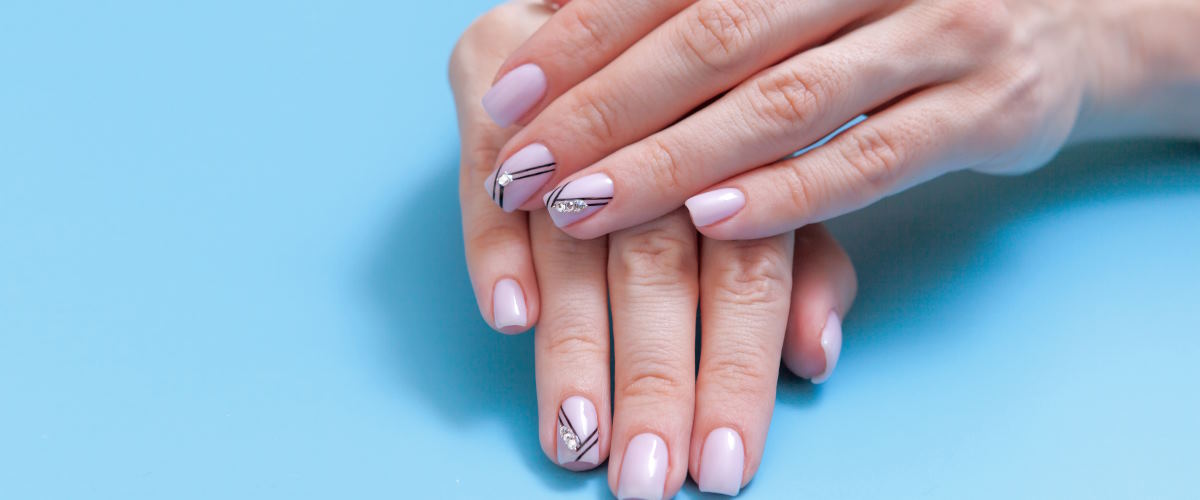
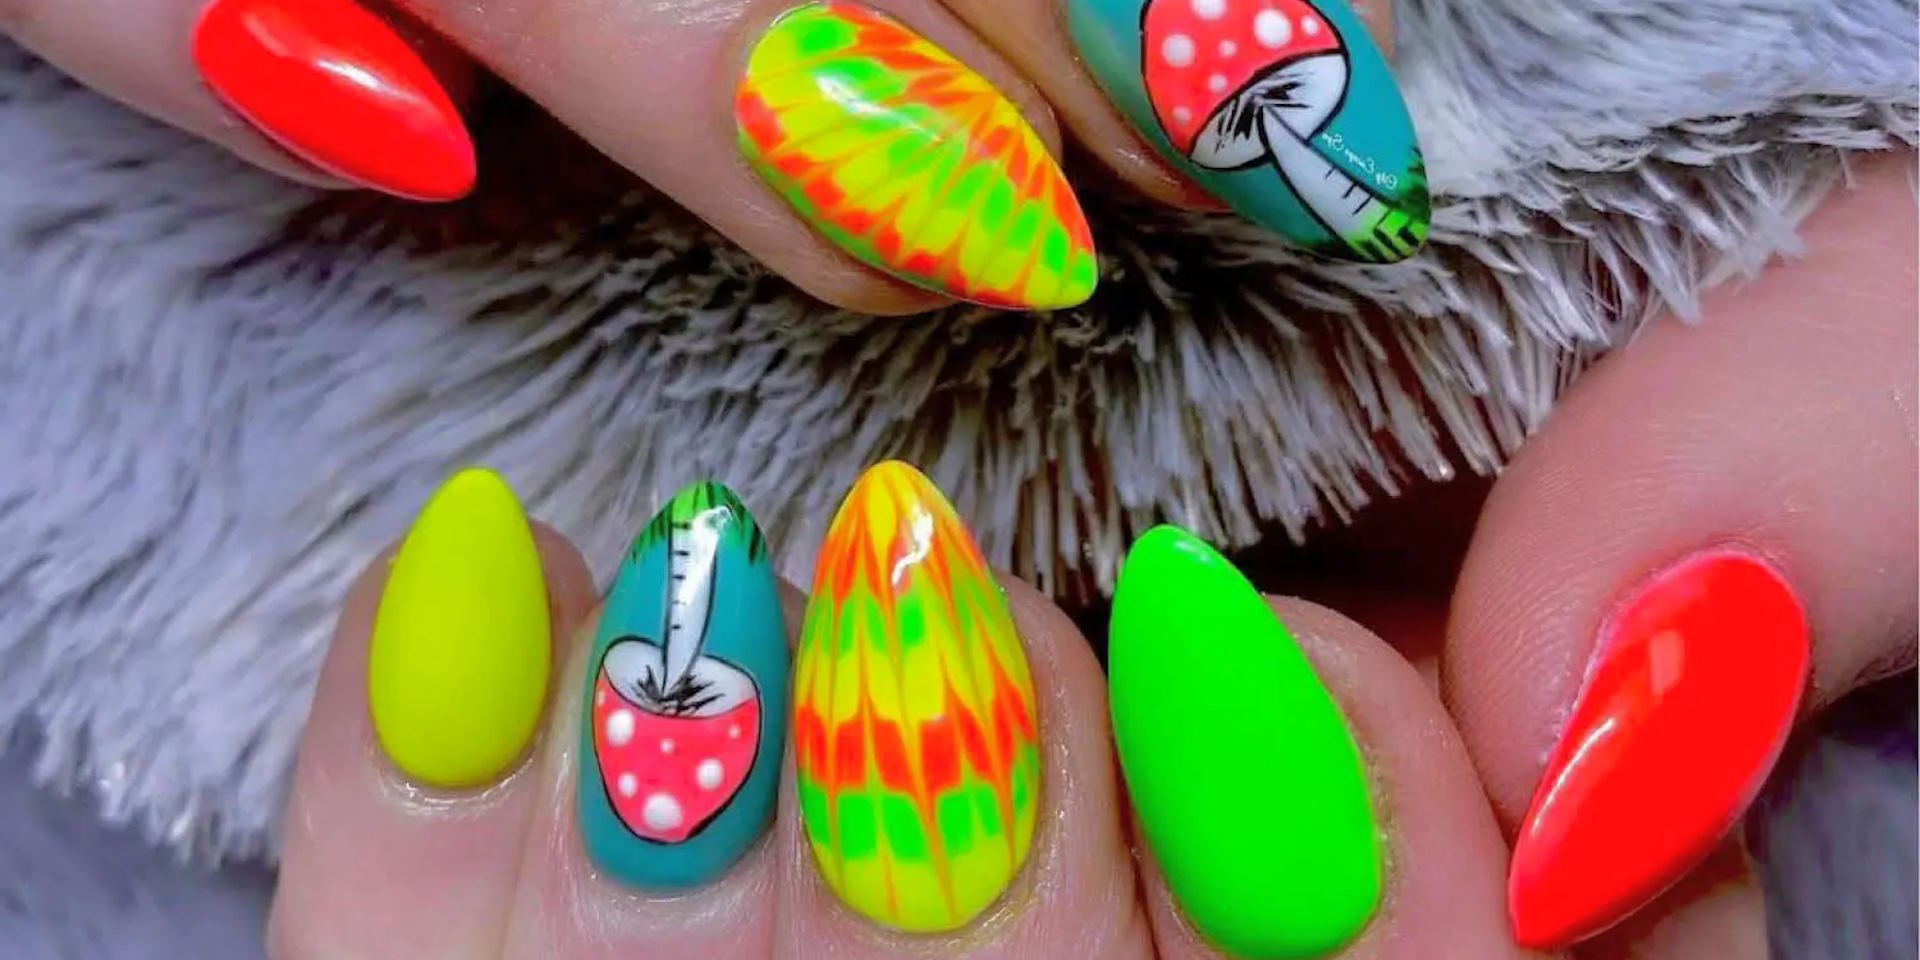
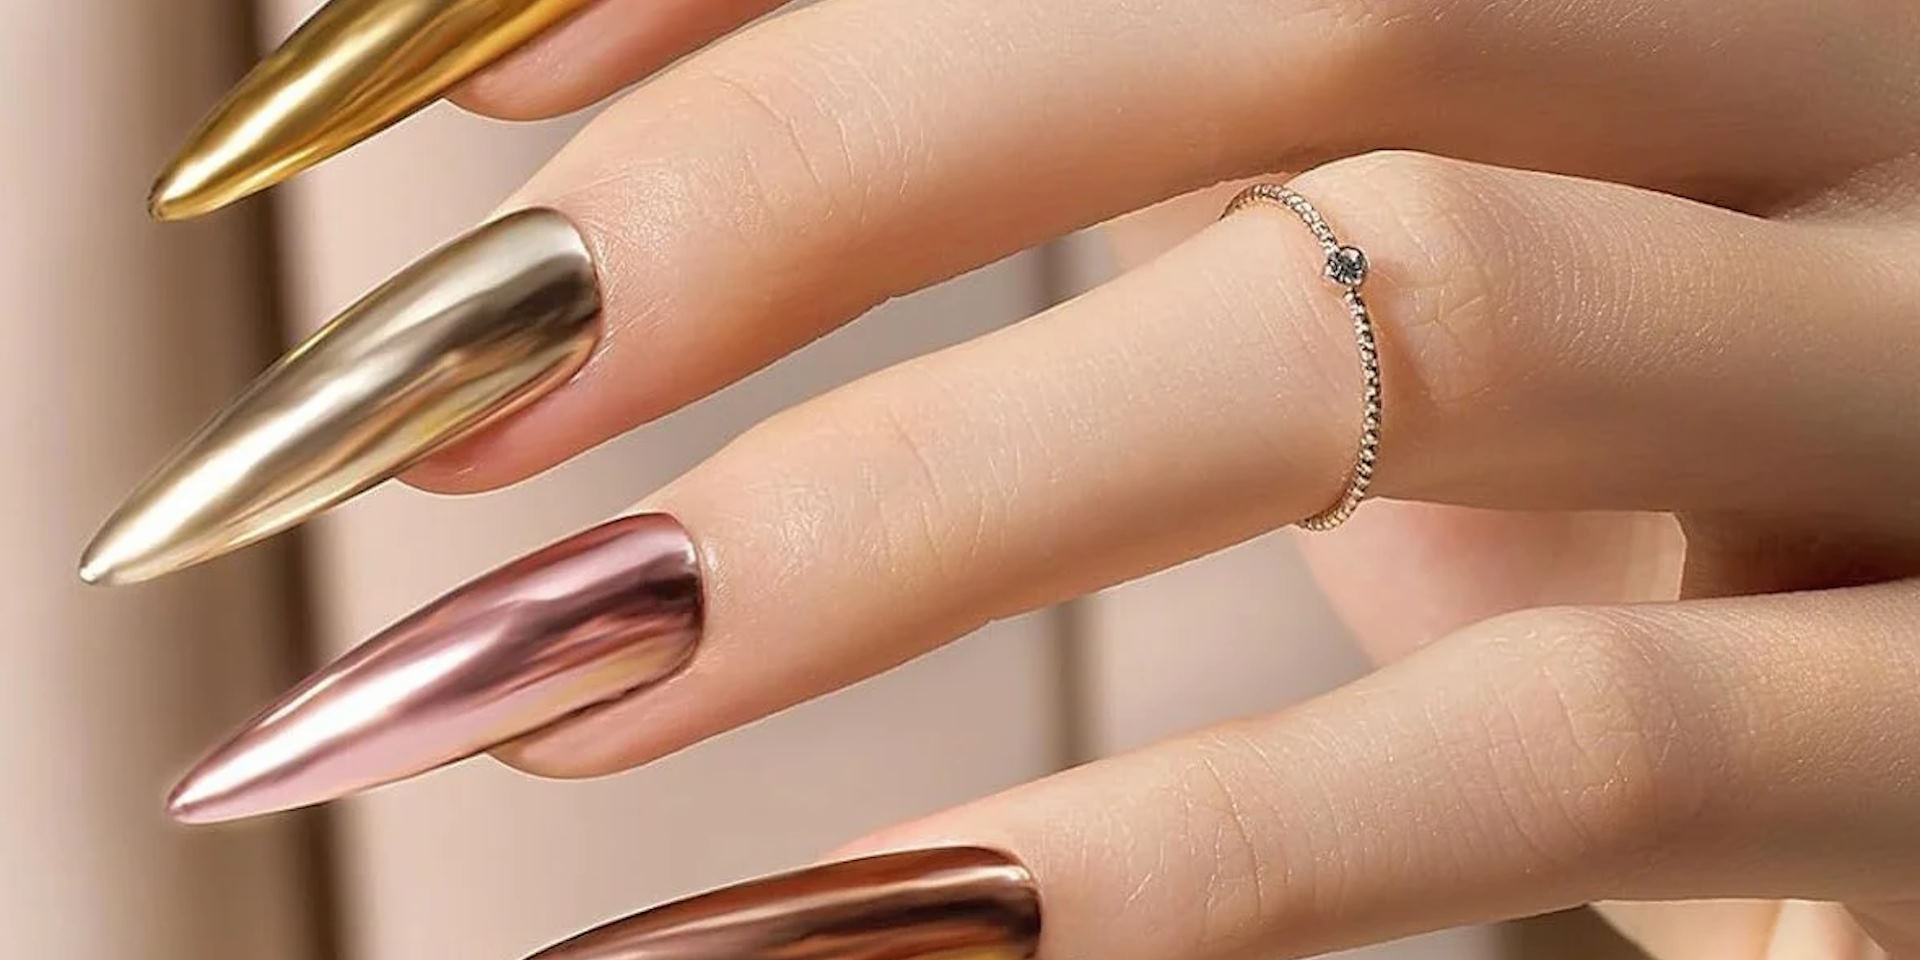
We all love a good set of nail art – it’s like giving your hands a little upgrade. But before you jump into those fun designs, have you ever thought about how to take care of your nails? Think of your nails as a garden: without the right preparation and aftercare, even the most beautiful flowers won’t last long. Whether you’re a nail art newbie or a seasoned pro, taking the right steps before and after is the key to ensuring your nails stay strong, healthy, and beautiful.
Prepping Your Nails for Perfection
Before you even think about painting your nails, it’s important to prepare them properly. Just like a gardener wouldn’t plant seeds in dry, rocky soil, you shouldn’t start nail art on nails that aren’t in good condition. Here are a few steps to help you get your nails ready for their big moment:
Hydrate and Moisturize Your Nails
Healthy nails start with hydration. You wouldn’t leave your skin dry and expect it to look its best, right? Your nails are no different. Moisturizing them is essential, especially for your cuticles and nail beds. Dry, cracked cuticles can mess with your nail art, causing it to lift or chip more easily.
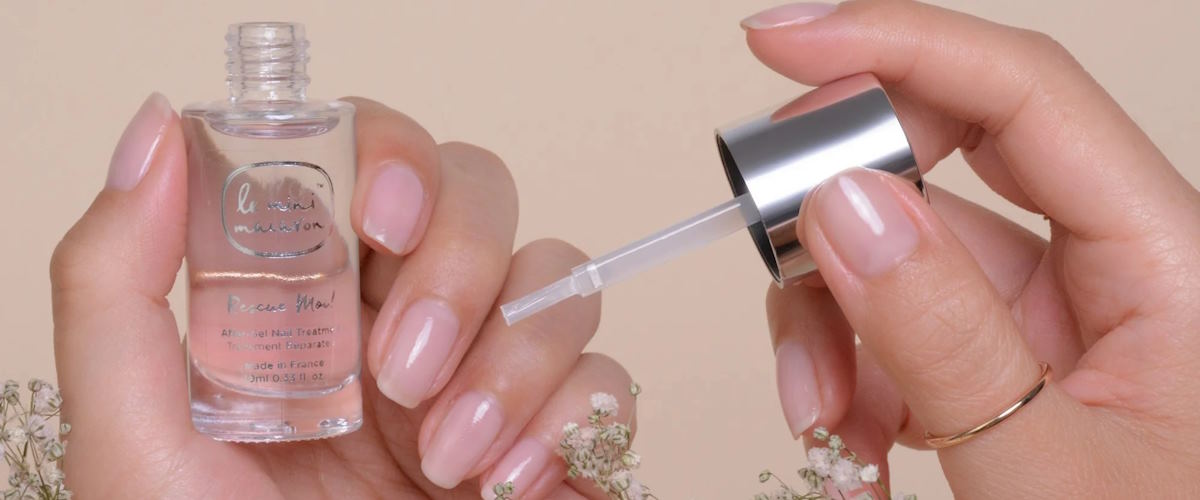
Try massaging a good cuticle oil or cream into your nails daily. There are plenty of options out there, but look for something with vitamin E or jojoba oil—these are natural ingredients that really hydrate and nourish your nails. A little goes a long way!
Nail Shaping and Buffing
Next up, shaping your nails. Your nails can naturally grow in different shapes, and when it comes to nail art, the smoother and more even your nail surface is, the better the result. If you want a clean and professional-looking design, start by trimming and filing your nails to your desired length. If you’re unsure of the shape, the classic oval or square nails are always safe bets.
Buffing your nails is also a good idea before applying any nail polish or designs. A buffed surface helps nail polish stick better, giving you a longer-lasting result. But be careful not to over-buff—just a gentle smooth will do.

Cuticle Care
Cuticles might be small, but they play a big role in the health of your nails. Gently pushing them back with a cuticle pusher can create a cleaner look around the nail bed. But don’t go too hard; your cuticles are there to protect the nail, so don’t push them too far down or trim them aggressively. A little gentle care goes a long way!
Strengthening Nails
If your nails tend to be weak or brittle, it might be a good idea to use a nail strengthener for a few days before your nail art session. A nail hardener will create a protective barrier that helps to prevent breakage. You can also boost your nail health from the inside by taking biotin supplements or including more protein-rich foods in your diet—your nails will thank you for it!
Choosing the Right Nail Salon or DIY Method
Whether you’re heading to a salon or doing your nails at home, hygiene and technique are crucial. If you go to a salon, make sure it’s clean and that the technicians are using sanitized tools. It might seem like an obvious tip, but you’d be surprised how many people overlook this.
If you’re a DIYer, take your time and be gentle with your nails. Rushed nail art can result in smudges or uneven designs. So, set up a comfortable space, gather your tools, and get ready to create!
Post-Art Nail Care for Longevity
Okay, so you’ve got your nails looking perfect, and your art is on point. But the real work doesn’t end once the design is done. In fact, how you care for your nails afterward plays a big part in how long your nail art will stay looking good.
Avoid Water and Heat
After applying your nail art, try to avoid getting your nails wet for at least 24 hours. I know, it sounds difficult, but water can interfere with the drying process and cause your polish to smudge or lift off the nail. Keep your hands away from water during this time—no washing dishes, no swimming, and no long baths!
Similarly, avoid exposing your nails to direct heat or steam for the first day. Too much heat can cause the polish to warp or bubble, ruining that smooth, glossy finish.

Gentle Handling
For the first few hours after getting your nails done, be extra gentle with your hands. Imagine your nails as freshly painted artwork—just like a painting needs time to dry, your nails need time to set. Avoid activities that put pressure on your nails, like typing too fast or opening cans with your nails. It may sound a bit dramatic, but trust me, it’s worth the extra care.
Moisturizing Cuticles and Nails
After your nails have dried and the design is fully set, don’t forget about moisture. Apply cuticle oil or hand cream to keep your nails hydrated. Nail art can sometimes dry out your nails, especially if it involves harsh chemicals like acetone, so keeping them moisturized is key to maintaining the health of your nails and the design.
Just like a plant needs water to stay healthy, your nails need hydration to remain strong and shiny. Keep applying cuticle oil regularly, especially around the edges of your nails, where the skin can dry out quickly.
Avoiding Impact or Excessive Pressure
If you’ve ever noticed a chip in your nail art after bumping it against something, you know how frustrating it can be. To avoid that, try not to use your nails as tools! If you need to open a package, reach for a spoon or a pair of scissors, not your nails. Impact from everyday activities can cause your design to crack, peel, or chip faster. Treat your nails with care to keep them looking fresh.
Protect Your Nails from Chores
If you’re doing housework or gardening, consider wearing gloves to protect your nails from getting dirty or damaged. Household cleaning products and garden tools can wear down your nail art, especially if your nails come into contact with harsh chemicals or rough surfaces.


